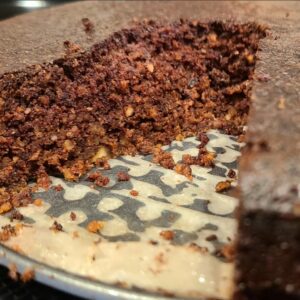
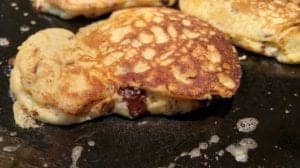
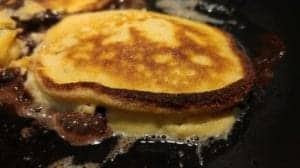
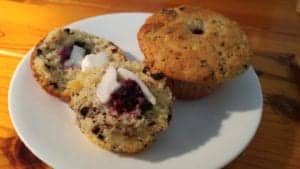
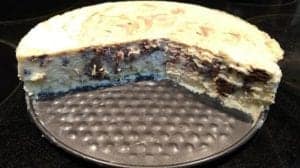
I made this low carb Chocolate Hazelnut Olive Oil Cake on a creative whim this past February, just before one of my son’s weddings, and it was quickly dubbed the “Nutella®” Cake.”
This gluten-free, dairy-free cake is rich and moist, with a texture similar to a brownie — but better.
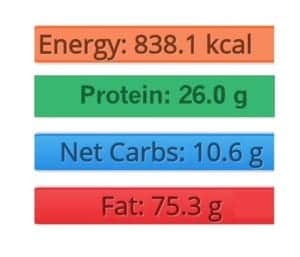
With only 11 net grams of carbohydrate per slice, this grain-free, gluten-free, dairy-free cake would be lovely to serve during the upcoming Passover, and would make a delicious dessert for those who celebrate Easter.
While unsuitable for those with hazelnut, tree-nut, or egg allergies, as a Registered Dietitian, I believe that this cake can (and should) be enjoyed for special occasions. This is a wonderful “sometimes food” (in contrast to an “everyday food.”)
Enjoy!
Low Carb Chocolate Hazelnut (Nutella®) Olive Oil Cake
(makes 12 servings)
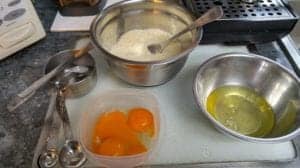
Ingredients
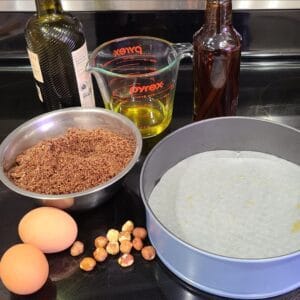
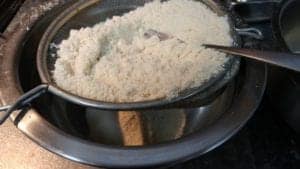
250 g (8 oz net weight) hazelnut meal*
10 g (2 tbsp.) natural cocoa powder
2.5 g (1/2 tsp._ baking soda
Pinch of salt
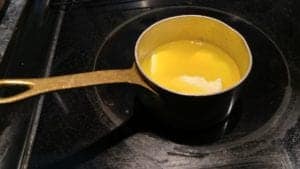
147 ml (10 tbsp. / 1/2 cup + 1.5 tbsp.) extra-virgin unfiltered olive oil
112 g / 4 oz granulated erythritol and monk fruit sweetener
3 large eggs, room temperature
10 ml (2 tsp.) real vanilla extract
Optional decoration
1/4 cup roasted hazelnuts, rubbed and crushed
*in this recipe, it is essential that the nuts are weighed rather than measured, as the volume varies with the freshness of the nuts.
Instructions
-
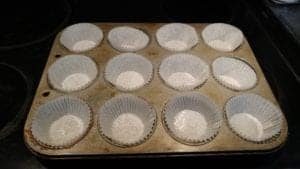
- Line a 22 cm (8.5 inch) springform pan with parchment paper, then grease the paper and sides of the springform pan with some of the same olive oil as used in the recipe.
- If hazelnut meal is not available, grind the raw hazelnuts in a food processor until the texture of almond flour. Place in a small bowl.
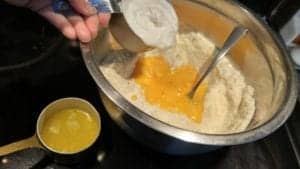
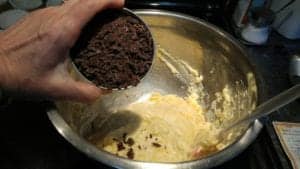
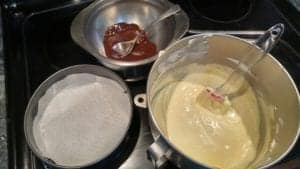
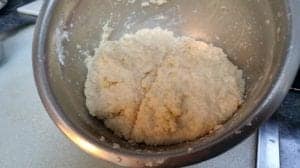
- Add the cocoa powder, baking soda and salt to the bowl with the hazelnut meal.
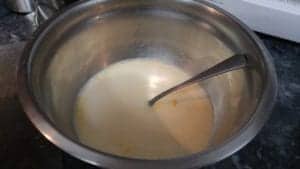
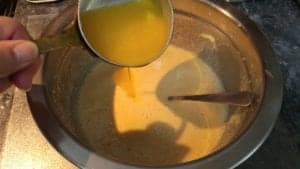
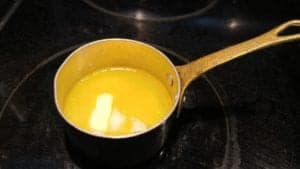
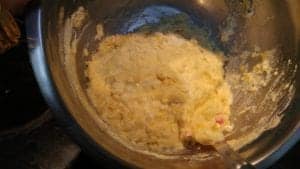
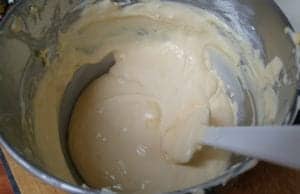
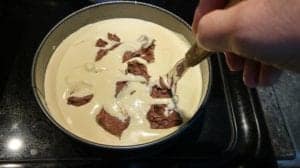
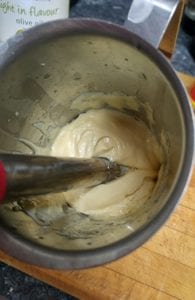
- In a larger bowl, beat the eggs well. To the beaten eggs, gradually add the extra virgin olive oil, and keep beating the mixture until it becomes pale and thick like coffee cream.
- Preheat the oven to 340°F (170°C) — which is 315°F (150°C) on a convection oven
- Add the real vanilla extract to the egg and olive oil mixture, and beat until well blended.
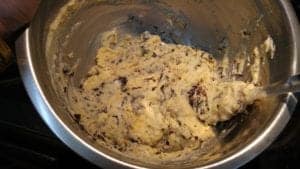
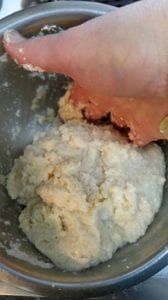
- Into the bowl with the egg and olive oil mixture, gradually add the dry ingredient mixture, stirring gently with a rubber spatula.

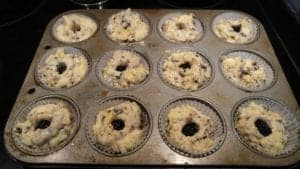
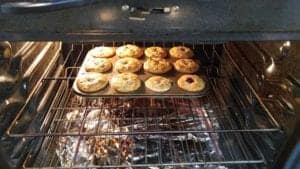
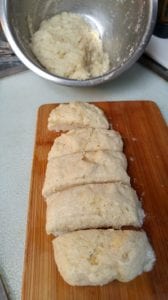
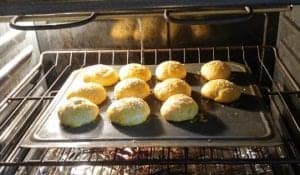
- Pour the batter into the prepared springform pan, and bake for 45 minutes (until a toothpick inserted into the center comes out clean). Note: the cake will rise slightly more in the center while baking and will fall as it cools. This is expected for this type of cake, so don’t worry!)
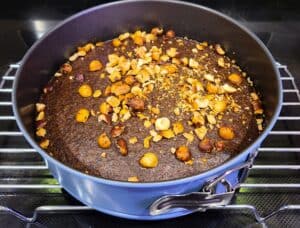
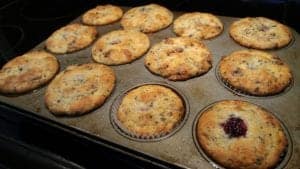
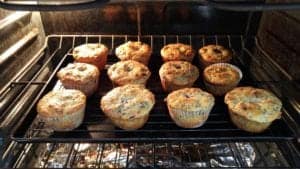
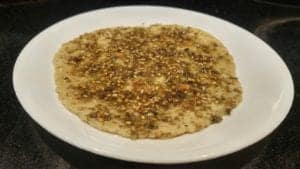
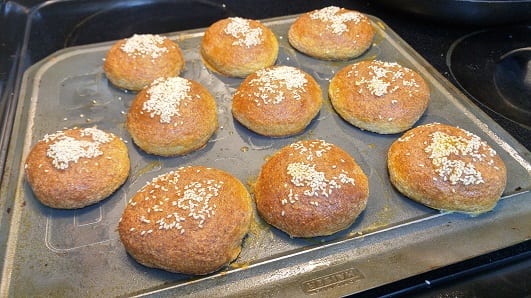
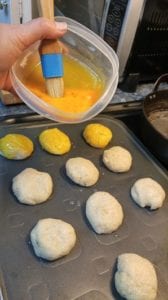
- Remove the cake from the oven, sprinkle with roasted hazelnuts if using, and allow the cake to fully cool in the springform pan before releasing it.
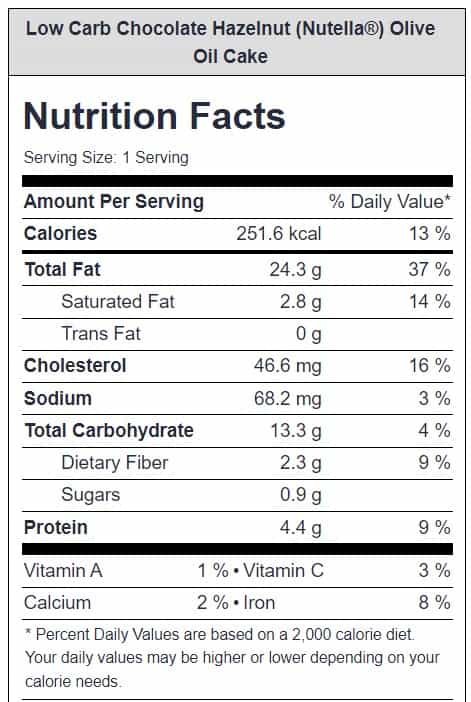
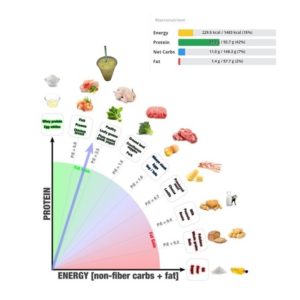
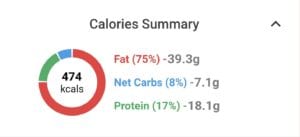
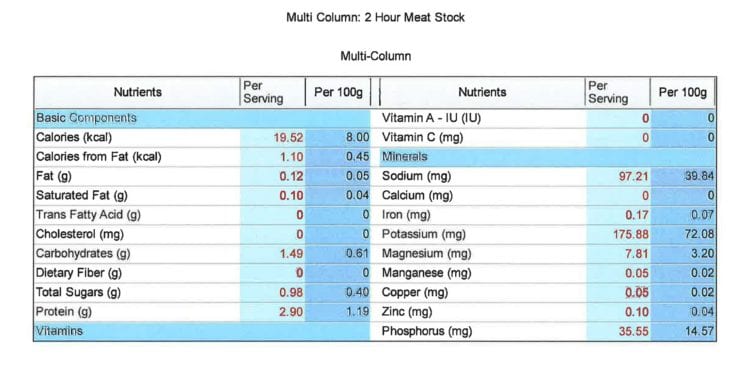
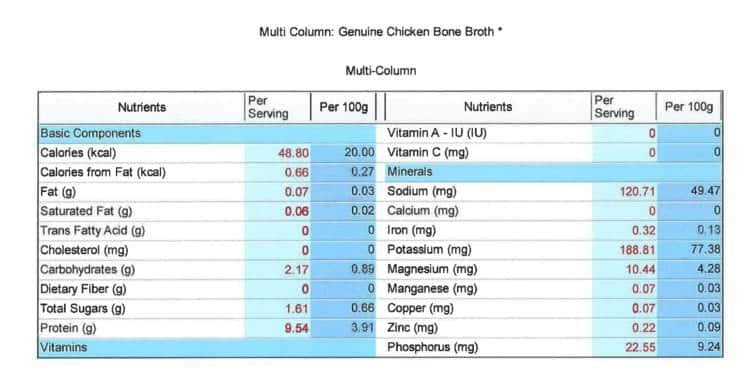
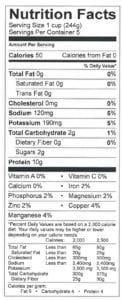
Macros (from Cronometer®)
Learn More
If you want to know about types of services I provide as The Low Carb Healthy Fat Dietitian, click here to learn more.
To your good health!
Joy
You can follow me on:
Twitter: https://twitter.com/lchfRD
Facebook: https://www.facebook.com/lchfRD/
Instagram: https://www.instagram.com/lchf_rd
Copyright ©2023 The LCHF Dietitian (a division of BetterByDesign Nutrition Ltd.)
LEGAL NOTICE: The contents of this blog, including text, images and cited statistics as well as all other material contained here (the ”content”) are for information purposes only. The content is not intended to be a substitute for professional advice, medical diagnosis and/or treatment and is not suitable for self-administration without the knowledge of your physician and regular monitoring by your physician. Do not disregard medical advice and always consult your physician with any questions you may have regarding a medical condition or before implementing anything you have read or heard in our content.
 Ingredients
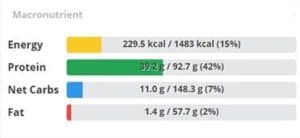

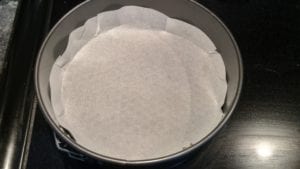 Prepare an 7 ” non-stick spring-form pan by lining with parchment paper and spraying well with a coconut oil spray.


 In the bowl of a stand mixer using the flat paddle (or by hand) beat the packages of cream cheese one at a time until very well blended and add the eggs one at a time, continuing to blend.
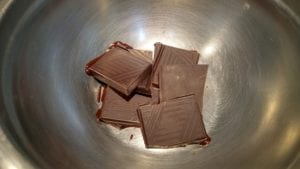
 Turn off the heat of the convection oven and open the door slightly (not all the way, so cake does not get a draft), but leave it inside for 30 minutes, until partially cooled.
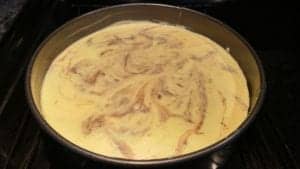


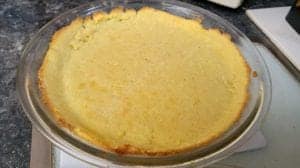


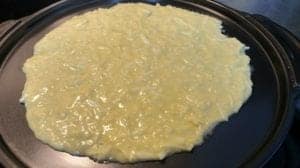
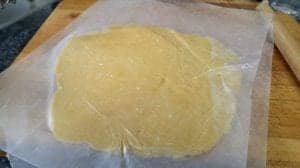 Making it before dinner was easier than I imagined, or easier than I remembered it as a younger woman. I preheated the oven to high and began to roll out the dough between pieces of waxed paper and placed them each in large Pyrex (glass) pie plates.
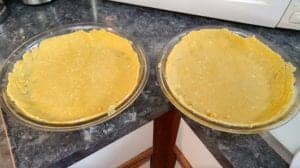


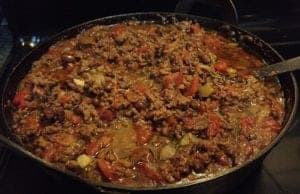
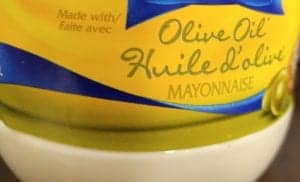 So much for people’s good intentions of substituting a healthy monounsaturated fat for a refined, industrial seed oil like canola.
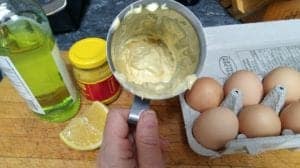


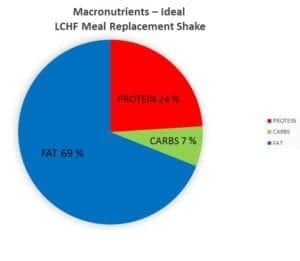
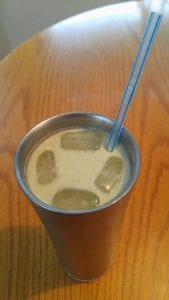 If you’re in a rush, this shake can be made quickly in a bowl and poured over ice and enjoyed…
 …or if you have a few extra minutes and a blender, it can be whirred with a little extra ice to make a wonderful meal replacement smoothie.